Every parent knows that frozen pelmeni is a complete lifesaver in week nights. Yes, let’s be honest – even top chefs and foodies eat pelmeni at home.
The recipe is truly simple, even 4- and 8-year-olds can handle the rolling and folding (tested!), and if they can do it, you definitely can too. By rolling together, you can fill both your freezer reserves and your dinner needs, and as a bonus, they taste so-so-so much better than store-bought ones, and there’s also a considerable financial saving. If you handle the dough and filling with dicipline, you’ll end up with about 100+ pelmeni. But… if you roll with the kids and have a little fun too, some of the dough will end up in bellies, some on the floor, and some will become little teddy-bears, so the number of pelmeni might decrease to around 60-80. 🙂
…and once pelmeni making is clear, it’s worth tackling a ravioli recipe – you can’t get enough of those creamy plump little pockets. Super yummy!
Chicken pelmeni
Ingredients
Filling:
Preparation
-
Chop the leek into the tiny cubes - aim for the smallest bits you can possibly chop. Sauté the chopped leek in 1 tsp of oil in a pan over medium heat, stirring constantly. Mix the fried leek with the minced meat and seasonings, but be mindful to season generously! Transfer the filling to the fridge to chill while you prepare the dough.
-
Put the flour in a large bowl. Make a well in the centre, add 1 egg, 300 ml of water, and salt. Start mixing from the edges towards the centre, and when the dough starts to come together, continue kneading. Knead into a smooth dough until it no longer sticks to your hands - add a few handfuls of flour if necessary. Wrap the dough in cling film and let it rest for 30 minutes to allow the gluten to work its magic.
-
Once the dough has rested, it's time to start rolling. You can do this successfully with a rolling pin - in that case, divide the dough into smaller pieces and roll as thinly as you can. However, it's easier to do with a pasta machine. Take ¼ of the dough (keep the rest in cling film), flatten it slightly, and start with the widest setting on the pasta machine - a 1 on a scale of usually 1 to 8 or 9.. Roll the dough through once, fold it, and roll it through again at the same wide setting. Then move to progressively narrower settings one by one, rolling the dough through each time (up to setting 6-7). Lay the dough on a lightly floured work surface. Cut out small circles about 4 cm in diameter using a small glass. Place ½ tsp of minced meat filling in the centre, fold the other half over, and press the edges together firmly with the rim of the glass. If you like, you can twist the sharp corners of the pelmeni together to make cute little round ones. Repeat with the remaining dough until all the pelmeni are ready.
Note
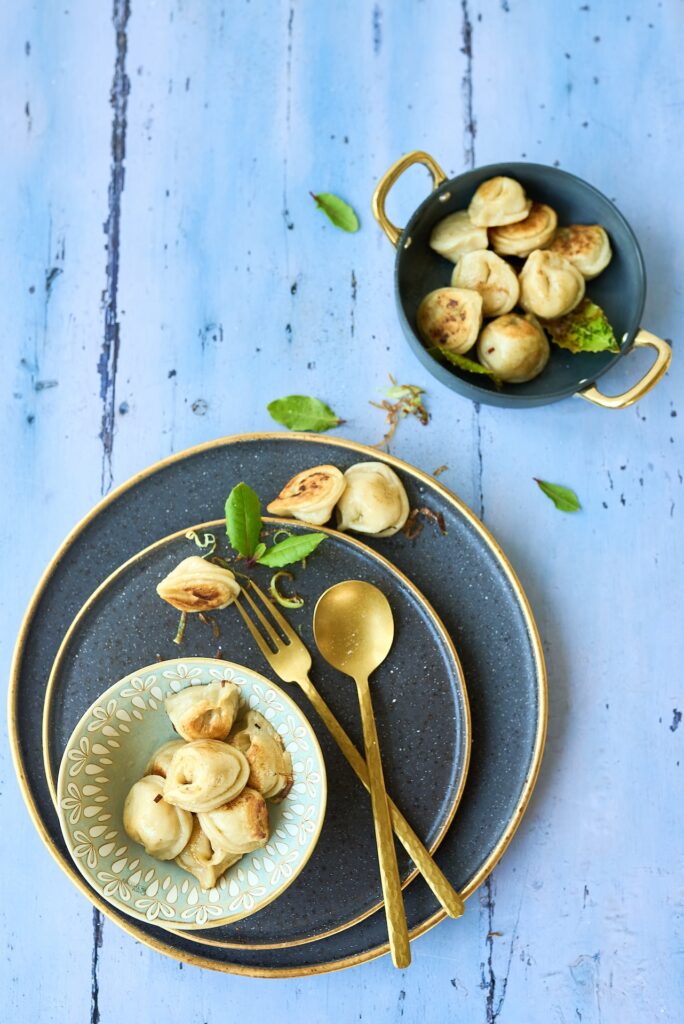
- TIP: Pelmeni serving tip from top chefs! First, boil the pelmeni in hot water, and you can add a little salt and a bay leaf to the water. Before serving, lightly fry the boiled pelmeni in butter - this gives them a wonderfully creamy flavour and a crispy surface.
- TIP: You can very successfully freeze pelmeni. While shaping, have a large baking paper-lined tray ready and place the finished pelmeni in rows on it. You can cook some immediately for eating. Put the rest on the tray into the freezer, and once frozen, transfer the pelmeni to a resealable plastic bag.